Repairing a water damaged ceiling in an RV involves fixing the overhead structure of the recreational vehicle that has been negatively affected by water infiltration. This damage often results from leaks, condensation, or other forms of water exposure.
Are you facing the daunting question of how to repair a water damaged ceiling in an RV Whether you’re a seasoned RV enthusiast or a novice, this task may seem challenging, but fear not. We will provide you with straightforward guidance and valuable tips to help you tackle this problem effectively, ensuring your RV remains in top-notch condition.
Repairing a water damaged ceiling in an RV typically involves identifying the source of the damage, assessing the extent of the problem, removing and replacing damaged materials, and ensuring proper sealing and finishing. You’ll need some basic tools, materials, and a step-by-step plan to complete the repair successfully.
Identifying the RV Ceiling Damage
The first step in dealing with a water-damaged ceiling in your RV is to identify the extent of the damage. Begin by thoroughly inspecting the affected area. Look for visible signs of water stains, discoloration, or peeling paint on the ceiling. These are telltale indicators of water damage.
To accurately assess the water damage to your RV ceiling, you’ll need to investigate beyond what’s visible on the surface. Carefully feel the affected area for soft or spongy spots. These are indications of deeper damage, potentially involving the ceiling’s supporting structure.
RV Ceiling Water Damage Assessment
To accurately assess the water damage to your RV ceiling, you’ll need to investigate beyond what’s visible on the surface. Carefully feel the affected area for soft or spongy spots. These are indications of deeper damage, potentially involving the ceiling’s supporting structure.
A useful tool in this assessment process is a moisture metre, which can detect hidden moisture levels in the ceiling materials. This can help you pinpoint areas that require immediate attention. Keep in mind that water damage assessment can be a time-consuming process, but it’s crucial for planning the most effective repair strategy.
RV Ceiling Repair Materials and Tools
Repairing a water-damaged ceiling in your RV requires the right materials and tools to get the job done effectively. Before you start the repair process, it’s essential to prepare a comprehensive list of everything you’ll need. To make this step more accessible, we’ve created a table below that lists the essential materials and tools for your convenience.
| Materials and Tools | Description |
| Appropriate ceiling replacement material | Ensure it matches the existing RV ceiling material. |
| Screwdriver set | For removing and securing screws in the ceiling. |
| Putty knife | Useful for removing old sealant and adhesives. |
| Sealant and caulk | To seal joints, seams, and prevent future leaks. |
| Safety equipment | Including gloves, safety glasses, and a mask. |
| Ladder or scaffolding | For reaching and working on the ceiling. |
| Jigsaw or circular saw | To cut replacement ceiling panels accurately. |
| Paint and primer | For finishing the repaired ceiling. |
Having the right materials and tools at your disposal is crucial for a successful RV ceiling repair. Be sure to gather all these items before you start the repair process to avoid unnecessary delays. With your materials and tools ready, you can proceed to the next steps in the repair process.
RV Ceiling Leak Prevention Measures
Preventing water damage to your RV ceiling is just as important as repairing existing damage. After all, no one wants to go through the hassle of fixing a damaged ceiling more than once. To safeguard your RV against ceiling leaks, consider implementing some proactive measures.
Depending on the type of sealant used, it may need to be resealed or replaced periodically. Check your RV’s user manual or consult with the manufacturer for recommended maintenance intervals. Proper maintenance and inspection can go a long way in preventing water damage, ensuring that your RV remains in excellent condition for years to come.
RV Ceiling Finish and Aesthetics
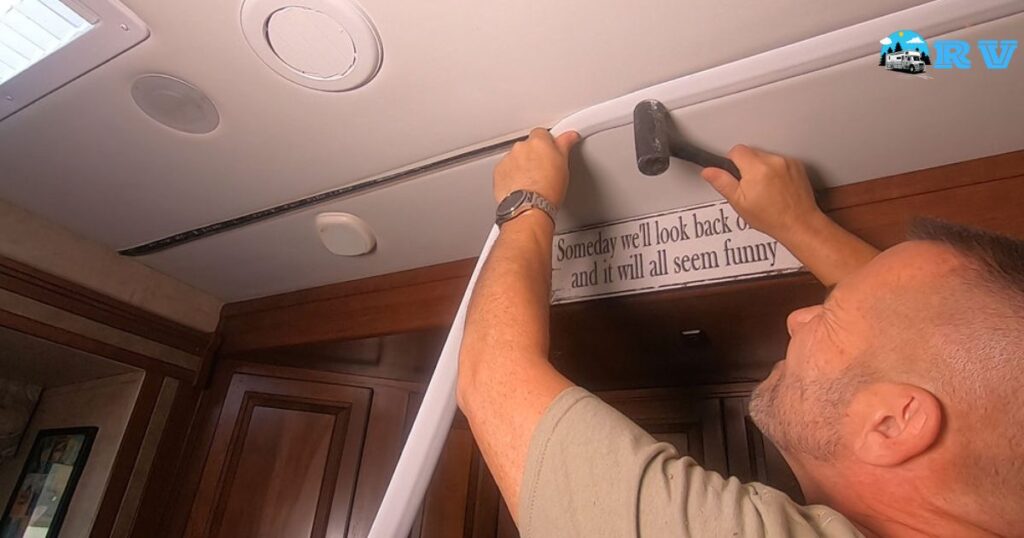
Once you’ve successfully repaired the water-damaged ceiling in your RV, it’s time to address the finishing touches. After all, your RV is not just a functional vehicle; it’s also your home away from home, so you want it to look and feel comfortable. The finishing stage includes restoring the aesthetics of your RV’s interior.
Begin by priming and painting the repaired area to match the rest of the ceiling. Ensure the paint colour and finish match the existing interior for a seamless look. Properly blending the repair with the rest of the ceiling is essential to maintain the aesthetic appeal of your RV.
Maintaining a Water-Resistant RV Ceiling
To ensure your RV’s ceiling remains water resistant over the long term, you need to stay vigilant with maintenance and inspections. Regularly check for any signs of water damage or leaks, no matter how small. Early detection can prevent significant issues from developing.
In addition to visual inspections, consider resealing the roof and vulnerable areas as part of your annual maintenance routine. Investing in quality sealant and caulk can significantly extend the lifespan of your RV’s ceiling and help you avoid future water damage issues.
RV Ceiling Panel Replacement Guide
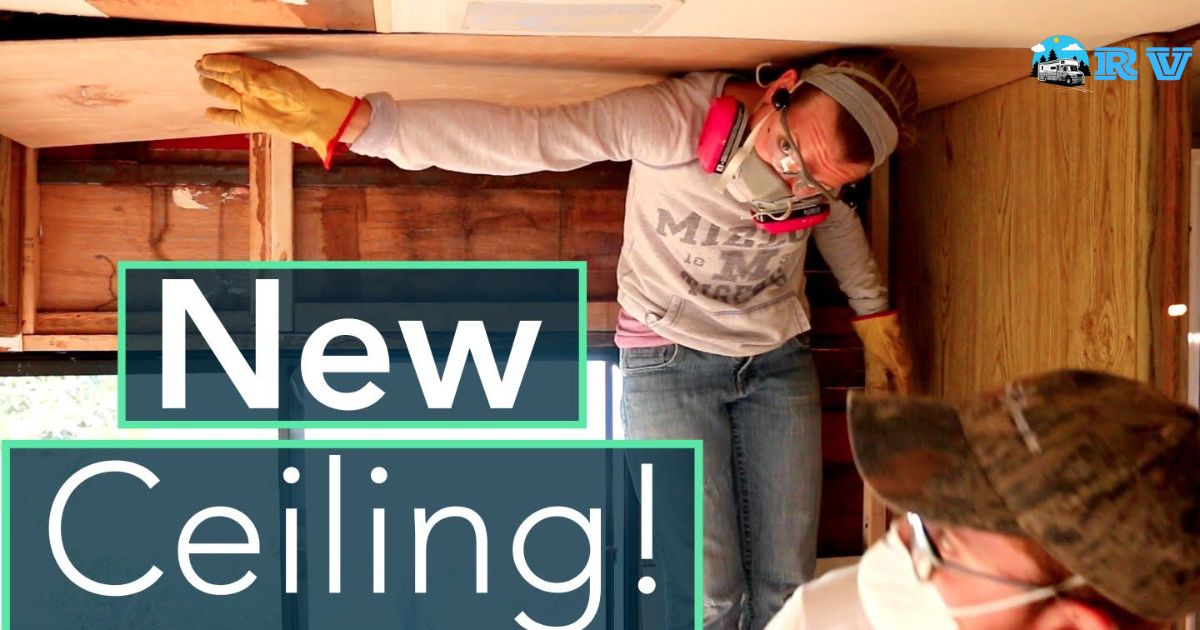
In some cases, repairing a water-damaged RV ceiling may require replacing entire ceiling panels. This step can be more complex, but with the right approach, you can achieve a professional-looking result.
Start by removing the damaged panels using your screwdriver set and putty knife. Ensure that the replacement panels match the existing ceiling material in terms of color and texture. This will help maintain the aesthetic integrity of your RV while you tackle the water tank problem. When you’re dealing with an RV fresh water tank overflowing, it’s essential to address the issue promptly.
FAQs
How can I identify water damage on my RV ceiling?
Inspect for water stains, discoloration, and soft spots, and use a moisture meter for hidden damage.
What materials and tools do I need for RV ceiling repair?
You’ll need ceiling replacement material, a screwdriver set, putty knife, sealant, safety equipment, a ladder, a saw, and paint.
How often should I inspect my RV’s roof sealant?
Regularly inspect your roof sealant and follow your RV’s maintenance recommendations for resealing.
Can I match the replacement ceiling panel to the existing one?
Ensure the new panels match the colour and texture of your current ceiling material.
What’s the key to preventing future RV ceiling water damage?
Vigilant maintenance, inspections, and prompt repair are crucial to maintaining a water-resistant RV ceiling.
Conclusion
In the world of RV ownership, dealing with a water-damaged ceiling is a challenge that can’t be ignored. But armed with the knowledge and guidance provided in this comprehensive guide, you now have the power to take charge and address the issue effectively.
By identifying the damage, assessing its extent, and arming yourself with the right materials and tools, you can restore your RV’s ceiling to its former glory. Moreover, remember that prevention is key to preserving your RV’s ceiling in the long run.
Regular inspections and maintenance, coupled with proactive leak prevention measures, can go a long way in safeguarding your mobile home from future water damage. With your newly acquired skills, you’ll not only repair your RV’s ceiling but also ensure it remains a comfortable and water-resistant haven for your adventures on the road.


