Replacing a ducted RV air conditioner involves the process of removing the existing air conditioning unit in a recreational vehicle and installing a new one. This is typically done when the old unit is no longer functioning properly or needs an upgrade.
Have you ever wondered, How to replace a ducted RV air conditioner? Well, you’re in the right place Whether you’re experiencing issues with your current unit or looking to upgrade to a more efficient system, knowing how to replace a ducted RV air conditioner can save you time and money.
Replacing a ducted RV air conditioner is an essential task for maintaining a comfortable environment in your mobile home. These units are crucial for regulating the temperature inside your RV, especially during hot summer days or chilly winter nights. We’ll walk you through the steps to successfully swap out your old unit and keep your RV’s interior climate just the way you like it.
Air Conditioner Replacement Overview and Preparation
Replacing a ducted RV air conditioner is a task that can greatly enhance the comfort and functionality of your recreational vehicle. Before diving into the process, it’s essential to have a clear understanding of what’s involved and to be well-prepared.
In this first section, we’ll provide an overview of the RV air conditioner replacement process and outline the key preparatory steps. To ensure a smooth replacement, you’ll need to assess the condition of your existing unit, determine the appropriate replacement model, and gather essential tools and materials.
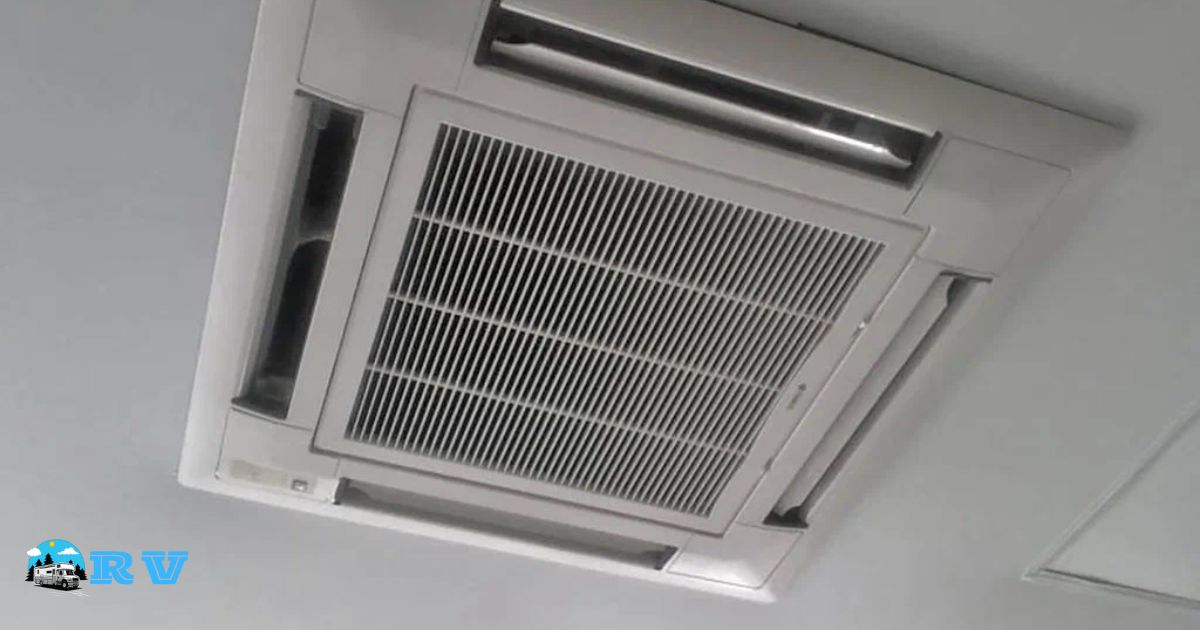
Understanding Your Ducted RV Air Conditioner System
To successfully replace your RV’s ducted air conditioner, it’s crucial to have a clear understanding of the system you’re working with. This knowledge will enable you to proceed with confidence and ensure a seamless transition from the old unit to the new one.
Your ducted RV air conditioner system consists of several components, including the main AC unit, the ductwork, and the thermostat. The main AC unit, typically located on the roof of your RV, is responsible for cooling and, in some cases, heating the interior. The ductwork is a network of channels that distribute the conditioned air throughout your RV, ensuring consistent cooling in all areas.
Gathering the Necessary Tools for RV Air Conditioner Replacement
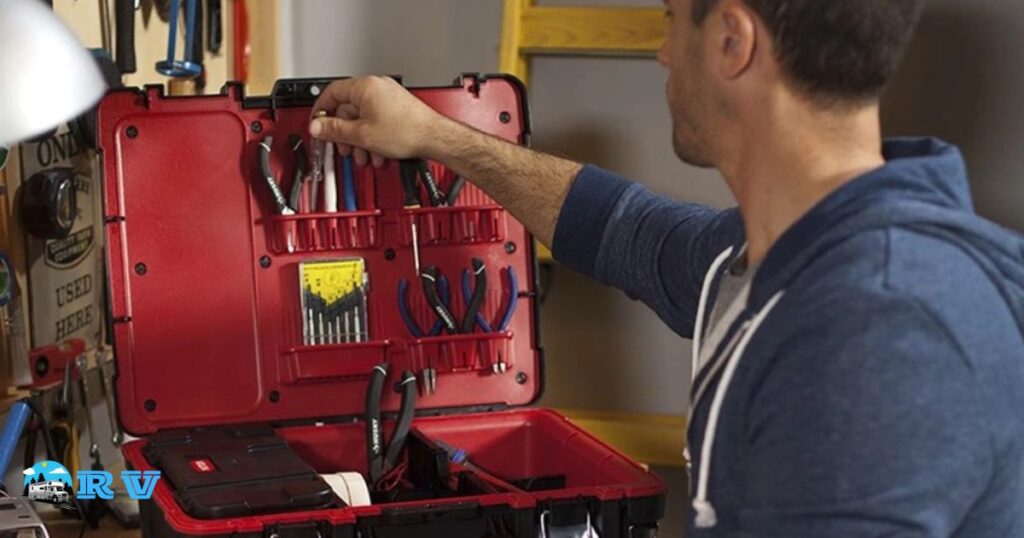
Before you embark on the journey of replacing your ducted RV air conditioner, it’s vital to gather all the necessary tools and materials. This ensures that you have everything you need on hand, making the process smoother and more efficient.
To help you get organised, we’ve created a handy table listing the essential tools and materials you’ll need for the RV air conditioner replacement:
| Tools and Materials | Description |
| Screwdriver | Various sizes for removing screws and bolts |
| Adjustable Wrench | For tightening and loosening nuts |
| Sealant | To create a watertight seal on the roof |
| Butyl Tape | Provides extra sealing for a secure fit |
| Wire Cutters and Strippers | For electrical connections |
| Wire Nuts | To connect wires securely |
| Silicone Sealant | For sealing gaps and preventing leaks |
| Roof Sealant | For sealing roof penetrations and edges |
| Safety Equipment (Gloves, Goggles, etc.) | For personal protection |
Having these tools and materials ready before you start will save you time and frustration during the replacement process..
Removing the Old RV Air Conditioner Unit Safely
The removal of the old RV air conditioner unit is a critical step in the replacement process. It requires careful planning and execution to ensure a smooth transition to the new unit. In this section, we’ll outline the steps for safely and efficiently removing the existing unit.
This typically involves disconnecting the RV from shore power or turning off the generator, depending on your setup. Once the power is off, you can proceed with the removal. If you need to reset an RV air conditioner, begin by removing the interior shroud or cover of the air conditioner.
Installing the New Ducted RV Air Conditioner
The installation of a new ducted RV air conditioner is a significant step in the replacement process. To ensure the new unit operates efficiently and keeps your RV comfortable, it’s crucial to follow a methodical approach. In this section, we’ll guide you through the steps of installing the replacement air conditioner.
Start by inspecting the roof of your RV. Ensure it’s clean and free of any debris or old sealant. Clean the area where the new unit will be installed, as a clean surface will help create a watertight seal. Next, position the new air conditioner unit on the roof. Align it with the existing hole and ensure that it’s centered and level..
Wiring and Electrical Connections in Your RV Air Conditioner Replacement
Proper wiring and electrical connections are essential to the successful installation of your new RV air conditioner. This section will guide you through the process of connecting the electrical components correctly, ensuring that your unit operates safely and efficiently.
Before you start the wiring process, refer to the manufacturer’s instructions that came with your new RV air conditioner. These instructions will provide specific guidance on wiring, which can vary depending on the model and brand. It’s crucial to follow these instructions precisely.
Sealing and Insulating for Optimal RV Air Conditioner Performance
Proper sealing and insulation are crucial in ensuring your RV air conditioner functions efficiently and prevents issues such as leaks, drafts, and excessive energy consumption. In this section, we’ll guide you through the essential steps of sealing and insulating your new air conditioner unit.
Begin by applying a generous amount of butyl tape around the perimeter of the air conditioner’s base, where it contacts the roof. Butyl tape is an excellent sealant that provides a waterproof and airtight barrier. Ensure the tape is evenly distributed to create a watertight seal.
Testing and Fine Tuning Your New Ducted RV Air Conditioner
After completing the installation of your new ducted RV air conditioner, it’s essential to test the unit and make any necessary adjustments to ensure it’s operating optimally. In this section, we’ll walk you through the steps for testing and fine-tuning your RV air conditioner.
Safety should be a top priority, so avoid skipping this step. Once you’re confident in the electrical setup, turn on the power to your RV air conditioner. Use the thermostat to set your desired temperature and fan speed. The air conditioner should start cooling (or heating) the RV’s interior.
FAQs
Can I replace my RV air conditioner myself?
Yes, you can replace it yourself, but having some technical knowledge and tools is essential.
How do I choose the right replacement unit?
Match the BTU rating and consider features like a heat pump.
When should I replace my RV air conditioner?
Replace it if it’s no longer cooling effectively or experiencing frequent issues.
Can I reuse existing electrical connections?
You can, but ensure compatibility and consult the manufacturer’s instructions if unsure.
Conclusion
In wrapping up our journey on how to replace a ducted RV air conditioner/. We’ve covered the critical steps to ensure a successful and comfortable upgrade for your recreational vehicle. From the initial assessment of your old unit’s condition to the meticulous wiring and sealing processes. We’ve walked you through the entire procedure.
Remember that maintaining your RV’s HVAC system is a key factor in ensuring your on-the-road comfort. Regular check ups, cleaning, and attention to details. Will keep your new air conditioner in top shape for many more adventures to come. With your new unit installed and the road ahead, may your travels be filled with comfort and memorable moments in your well-climate-controlled RV.


