Air pressure to blow out RV water lines is the amount of compressed air needed to remove all the water from your RVs plumbing system. Its a crucial step in winterizing your recreational vehicle to prevent freezing and damage.
What air pressure to blow out RV water lines? This question might seem daunting, but its essential to understand. The answer varies depending on your specific RV and plumbing setup. Getting this right is crucial to effectively clear out the water and safeguard your vehicle from freezing temperatures.
When determining the air pressure to blow out RV water lines, consult your RVs owners manual or contact the manufacturer for guidance. Generally, RVs typically require an air pressure between 30 and 50 PSI (pounds per square inch) for effective water line winterization.
Psi For blowing out water lines
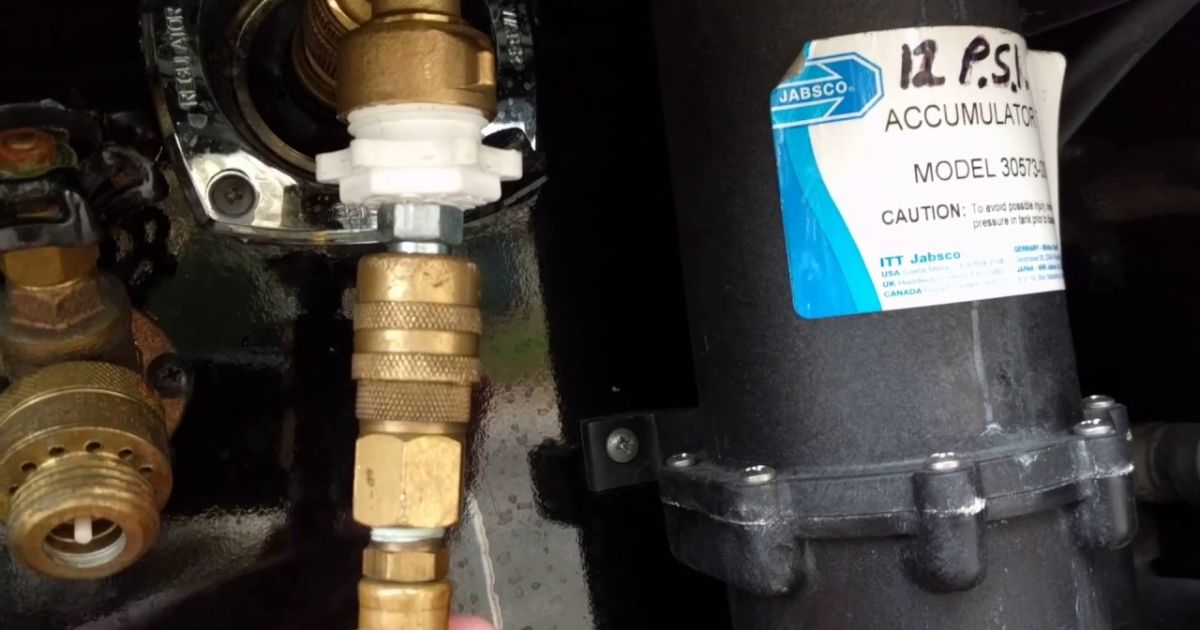
Blowing out water lines with psi, or air pressure, is a crucial step in preparing an RV for winter storage. This process involves using a compressor to force air through the water lines, pushing out any remaining water to prevent freezing and potential damage during cold weather.
To do this, simply connect the compressor to the RV’s water inlet, set the psi to the recommended level (usually around 30-40 psi), and open each faucet one by one until only air comes out. Don’t forget to do the same for the toilet, shower, and any other water-using appliances.
Choosing the Right PSI
Choosing the right PSI (pounds per square inch) for blowing out RV water lines is crucial for winterizing your vehicle effectively. If the PSI is too high, it can damage the plumbing system, leading to costly repairs. On the other hand, if it’s too low, it may not effectively clear all the water from the lines, risking freezing and potential damage.
To find the optimal PSI, consult your RV’s manual or seek advice from professionals in the industry. It’s a small but essential step to ensure your RV remains in good condition during the colder months, preventing costly water line damage.
Winterizing Essentials
Winterizing essentials for your RV include ensuring the proper air pressure to blow out water lines. Before the cold winter months arrive, it’s crucial to protect your RV’s plumbing system from freezing. To do this, you’ll need an air compressor with the right pressure rating.
Connect the compressor to your RV’s water system and use it to blow out any remaining water from the pipes. This simple step can prevent costly damage and ensure your RV is ready to hit the road again when spring arrives. Don’t forget to check your RV’s user manual for specific pressure recommendations to winterize effectively.
Precision Pressure for RVs
Precision pressure is crucial when it comes to preparing RVs for winter. To ensure that the water lines are effectively cleared of any remaining liquid, RV owners rely on precise air pressure. This process helps prevent freezing and potential damage to the plumbing system during cold weather.
By using the right pressure settings, RV enthusiasts can confidently winterize their vehicles, ensuring a trouble-free camping season when the warmer months roll around again. So, whether you’re a seasoned RVer or a novice, remember that precision pressure is your key to a worry-free winterization process for your recreational vehicle.
How to Blow Out RV Water Lines
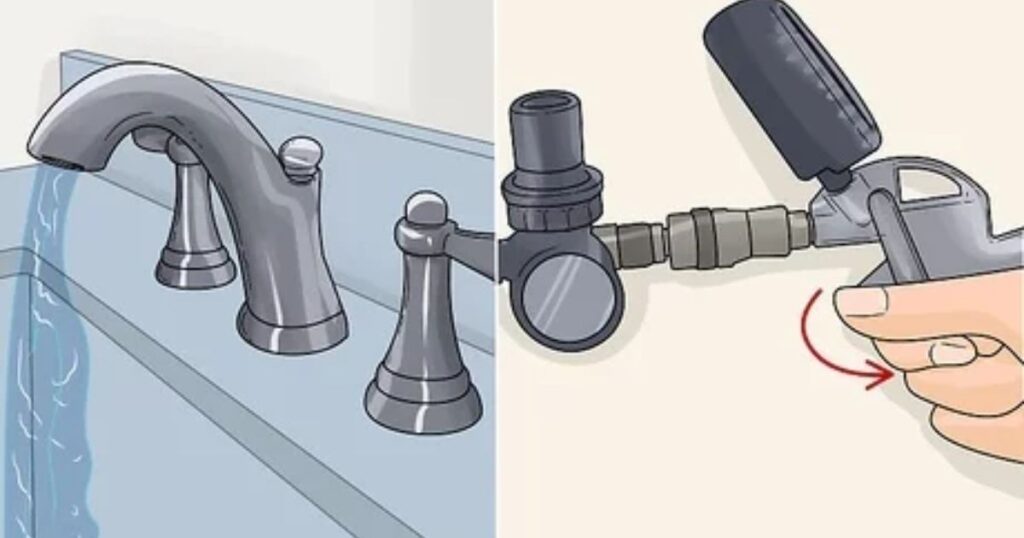
Blowing out RV water lines using air pressure is a crucial winterization step to prevent freezing and damage. First, ensure your RV’s water system is empty by draining all tanks and opening faucets. Then, attach a compressed air adapter to the city water inlet and set the air compressor to 30-50 psi.
Start with the farthest faucet and open it, allowing compressed air to push out any remaining water. Work your way to the nearest faucets and fixtures, including the toilet and shower. Once all lines are cleared, don’t forget to add antifreeze to drain traps and tanks to safeguard your RV from freezing temperatures.
Optimal PSI for RV Plumbing
Maintaining the optimal PSI for RV plumbing is crucial to prevent damage during winterization. Typically, an air pressure of 30-40 PSI is recommended to blow out RV water lines effectively. This pressure is gentle enough to clear the lines of water without risking damage to the pipes, fittings, or fixtures.
Using the right PSI ensures that no water remains in the lines, preventing freezing and potential costly repairs when temperatures drop. So, when it’s time to prepare your RV for winter, remember to keep the air pressure within this safe range for successful plumbing maintenance.
Winter Prep for Water Lines
Winter prep for water lines is essential to prevent freezing and damage. One effective method is using air pressure to blow out RV water lines. First, ensure the RV’s water system is drained and disconnected from the water source. Then, attach an air compressor to the water inlet and set it to a low pressure, typically around 30 PSI.
Slowly release the compressed air, allowing it to push any remaining water out of the lines. This prevents freezing and costly repairs during the cold months, ensuring your RV is ready for winter adventures.
Taking this simple precaution can save you from the hassle and expense of dealing with frozen and burst water lines in your RV. By using air pressure to clear the lines, you can enjoy worry-free winter travels and keep your RV’s water system in excellent condition.
Air Pressure Tips and Tricks
Maintaining proper air pressure in your RV water lines is crucial to prevent freezing and damage during winterization. Here are some simple tips and tricks to ensure you get it right:
- Invest in a good quality air compressor with a pressure gauge.
- Before starting, turn off the water supply to your RV.
- Open all faucets, including hot and cold, in your RV to release any residual water.
- Connect the air compressor to the RV’s water inlet using a blowout plug or a fitting.
- Set the air compressor to a low pressure setting, typically around 30-40 psi.
- Slowly introduce air into the system, starting with the closest faucet to the water inlet and working your way through each faucet one by one.
- Continue until only air comes out of each faucet, indicating that all water has been removed.
Avoiding Frozen Mishaps
Avoiding frozen mishaps during the winter is crucial for RV owners. One effective way to prevent frozen water lines is by using air pressure to blow out the lines. This simple technique involves attaching an air compressor to the RV’s water system and using controlled air pressure to force out any remaining water.
By doing this, you can ensure that no water is left to freeze and potentially damage your RV’s plumbing system during the cold months. To get started, make sure to turn off the water supply to your RV and open all faucets and drains. Then, connect the air compressor to the water inlet using a special adapter.
Air Pressure Guidelines
Air pressure guidelines for blowing out RV water lines, while maintaining the pressure to blow out RV water lines, are essential for preventing freeze damage during the winter months. To ensure your RV’s plumbing system remains intact, it’s crucial to follow these simple instructions. First, make sure to use a regulated air compressor with a pressure gauge.
Then, set the pressure to around 30-40 psi, as higher pressures can potentially damage the pipes. Carefully open each faucet and fixture one by one, starting from the closest to the water source and moving outward. Allow the compressed air to blow out any remaining water from the lines until only air flows.
FAQs
Can using higher air pressure be harmful when blowing out RV water lines?
Yes, excessive pressure can potentially damage the pipes, so it’s best to stay within the recommended range.
What’s the correct sequence for blowing out RV water lines?
Start from the closest faucet to the water source and work your way outward.
Is it necessary to open all the faucets and fixtures in my RV?
Yes, open each one individually to ensure all water is removed from the lines.
Conclusion
In conclusion, determining the right air pressure to blow out RV water lines is vital to prevent damage during freezing temperatures. It’s essential to use a regulated air compressor with a pressure gauge to maintain control. Keeping the pressure around 30-40 psi is a safe range, as exceeding this can lead to potential pipe damage.
Remember to systematically open each faucet and fixture, starting from the closest to the water source and working outward, until only air flows. By following these straightforward air pressure guidelines, you can effectively protect your RV’s plumbing system from freezing, ensuring a worry-free winter season and avoiding costly repairs down the road.


