RV vent covers are essential components of a recreational vehicle, designed to protect the interior from external elements. When these covers crack, they compromise the RV’s integrity, allowing water and debris to enter. Cracked RV vent covers need prompt replacement to maintain the vehicle’s safety and comfort.
Replacing cracked RV vent covers is a crucial maintenance task for any RV owner. How to replace RV vent covers that are cracked? This question is vital for preserving your RV’s condition and ensuring a comfortable journey. The process is simpler than you might think, and tackling it can save you time and money.
Cracked RV vent covers often result from exposure to harsh weather, UV rays, or physical impact. These cracks can vary in size and severity, but even small ones can lead to significant issues like water leaks or reduced air quality inside the RV.
Understanding the Basics of RV Vent Covers
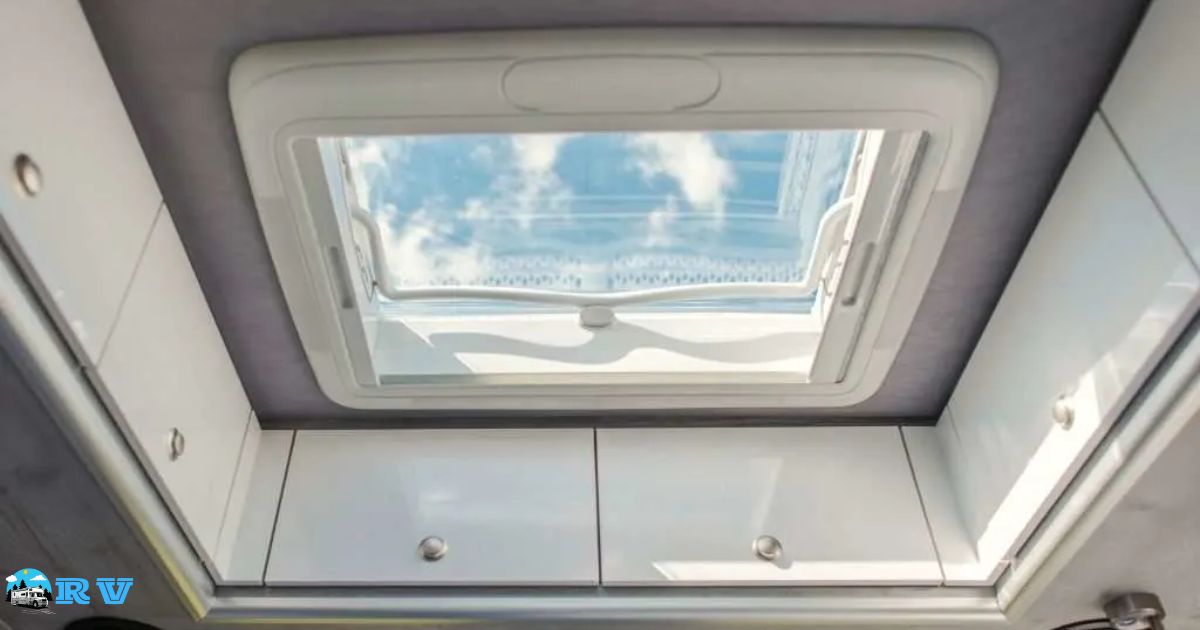
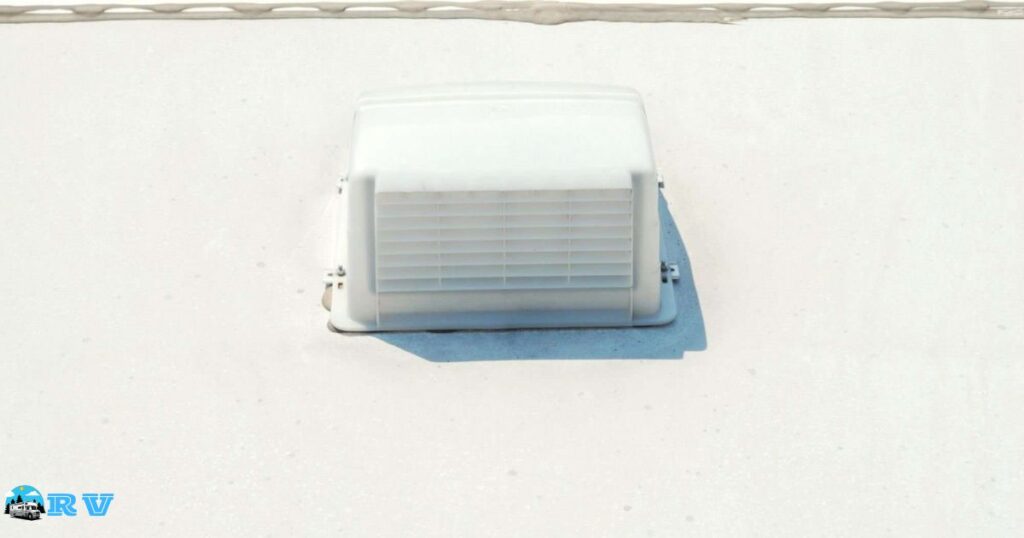
RV vent covers are crucial components in maintaining the comfort and safety of a recreational vehicle. They serve to protect the interior from external elements such as rain, debris, and even unwanted pests. These covers are typically located on the roof of the RV and are exposed to various weather conditions.
As a result, they are prone to wear and tear, including cracking, which can compromise their effectiveness. Knowing the role and structure of RV vent covers is essential for any RV owner. These covers are usually made of durable materials like plastic or metal and are designed to allow air flow while preventing water ingress.
Identifying Signs of Cracked RV Vent Covers
The first step in addressing cracked RV vent covers is recognizing the signs of damage. Visible cracks, gaps, or breaks in the cover are obvious indicators. These imperfections can lead to leaks, especially during heavy rain, which can cause further damage to the interior of the RV. You may notice increased noise or drafts, which are signs of compromised vent covers.
Other less obvious signs include discoloration or warping of the cover material. These can be early indicators of wear that may eventually lead to cracking. Regular inspection of your RV’s vent covers is crucial, especially after exposure to severe weather conditions or after extended periods of storage. Early detection can prevent more significant issues down the line.
Tools and Materials Needed for Replacement
For the replacement of RV vent covers, certain tools and materials are essential. The list includes a screwdriver or drill, sealant, ladder, and the replacement vent cover itself. Each tool plays a critical role in the replacement process. The screwdriver or drill is used for removing and securing screws, while the sealant ensures a watertight seal around the new cover.
| Tool/Material | Purpose |
| Screwdriver/Drill | To remove and fasten screws |
| Sealant | For creating a waterproof seal |
| Ladder | To safely access the RV roof |
| Replacement Vent Cover | The new cover to be installed |
Ensuring you have the right tools and materials before starting the job is important. It’s recommended to choose a sealant that is specifically designed for RV use to ensure durability and effectiveness. A correctly sized ladder is also critical for safety when accessing the RV roof.
Guide to Removing Old Vent Covers
Removing the old RV vent cover is the first hands-on step in the replacement process. Start by safely positioning your ladder against the RV to access the roof. Then, using your screwdriver or drill, remove the screws or fasteners holding the old cover in place. Be careful to avoid damaging the surrounding area of the roof.
Once the fasteners are removed, gently lift the old cover off. If it’s stuck due to old sealant or debris, carefully pry it loose, taking care not to damage the vent base. Cleaning the area around the vent base is crucial before installing the new cover. This ensures a clean surface for a better seal and fit.
Choosing the Right Replacement Vent Covers
Selecting the right replacement vent cover is a critical decision. It’s important to choose a cover that matches the size and type of your existing vent. Vent covers come in various materials, such as plastic or metal, each offering different levels of durability and resistance to weather elements.
When choosing a cover, also consider its design features. Some covers have added functionalities like UV resistance or enhanced airflow designs. It’s worth investing in a high-quality cover that offers additional benefits, as it can extend the lifespan and improve the performance of your RV vent.
Installing New RV Vent Covers A Detailed Approach
Installation of the new RV vent cover begins with aligning the cover with the vent base. Make sure it sits evenly before securing it with screws. Using your drill or screwdriver, fasten the cover in place, ensuring it’s snug but not overly tight, as this could crack the new cover.
After securing the cover, apply sealant around the edges. This creates a waterproof barrier and prevents future leaks. Be thorough but careful with the sealant application; excess can be cleaned up for a neat finish. Let the sealant dry according to the manufacturer’s instructions to ensure a strong bond.
Sealing and Securing the New Vent Covers
Proper sealing is crucial in the installation process. Apply a continuous bead of sealant around the perimeter of the vent cover base. This prevents water from seeping in, which can cause internal damage. Use a sealant that is compatible with both your RV’s material and the vent cover for best results.
After applying the sealant, inspect the entire vent area for any gaps or missed spots, including when you need to replace the rubber roof on your RV. It’s also advisable to check the screws or fasteners to ensure they are tight and secure. A well-sealed and secured vent cover will protect against the elements and extend the lifespan of your RV.
Maintenance Tips to Prevent Future Cracks in RV Vent Covers
Regular maintenance is key to preventing future cracks in RV vent covers. Inspect your vent covers regularly, especially after exposure to harsh weather or long trips. Look for signs of wear, such as small cracks or brittleness, and address them promptly. Cleaning the vent covers periodically can also extend their life.
Remove debris, dirt, and leaves that can accumulate and cause damage. Using protectants that shield against UV rays can also be beneficial, as sun exposure is a common cause of cracking in plastic vent covers. With these maintenance tips, your RV vent covers will remain in good condition, saving you time and money in the long run.
FAQs
Can I replace RV vent covers myself, or should I hire a professional?
You can replace RV vent covers yourself if you’re comfortable with basic DIY tasks. If you’re unsure or uncomfortable, it’s wise to consult a professional for assistance.
How do I prevent future cracks in RV vent covers?
To prevent future cracks, periodically inspect and clean your vent covers, avoid stepping on them, and consider adding vent covers made of more durable materials.
Where can I find replacement RV vent covers?
You can find replacement RV vent covers at RV supply stores, online retailers, or through the manufacturer of your RV’s vent system.
Conclusion
Replacing RV vent covers that are cracked is not just a matter of maintaining the aesthetic appeal of your vehicle; it’s about ensuring the longevity and safety of your RV. This process, while seemingly daunting at first, can be easily managed with the right tools, materials, and a bit of know-how. Remember, choosing the right vent cover and applying a proper sealant are crucial steps to secure your RV against the elements.
Regular inspection and maintenance play a significant role in extending the life of your RV vent covers. By addressing cracks early and cleaning the covers regularly, you can prevent more serious issues down the line. With these tips and steps, you can confidently tackle the task of replacing cracked RV vent covers, ensuring your RV remains a comfortable and safe haven for all your adventures.


