In the realm of RV maintenance, preparing for the winter season is of utmost importance. As the temperatures drop, one vital task is to protect the freshwater tank from freezing by introducing antifreeze. This article aims to guide RV owners through the necessary steps of safely and efficiently adding antifreeze to their freshwater tanks. By following these professional guidelines, readers can ensure the longevity and functionality of their RV’s plumbing system, fostering a sense of belonging within the RV community.
Key Takeaways
- Obtain a list of recommended items from a professional RV maintenance guide.
- Drain the RV’s water system completely before adding antifreeze.
- Bypass the water heater to prevent antifreeze from entering it.
- Slowly pour the recommended amount of antifreeze into the RV’s fresh water tank and ensure all lines and fixtures are protected.
Gather Necessary Supplies
To gather the necessary supplies, obtain a list of recommended items from a professional RV maintenance guide. This guide will provide you with a comprehensive list of tools and materials needed to properly put antifreeze in your RV fresh water tank. By following the recommendations of experts in the field, you can ensure that you have all the necessary supplies to complete the task effectively.
The list may include items such as a hand pump or a water pump converter kit, which will allow you to pump the antifreeze into the tank. Additionally, it may include specific types and quantities of antifreeze that are suitable for RV use. Having this list will make the process smoother and provide you with the confidence that you are using the correct supplies.
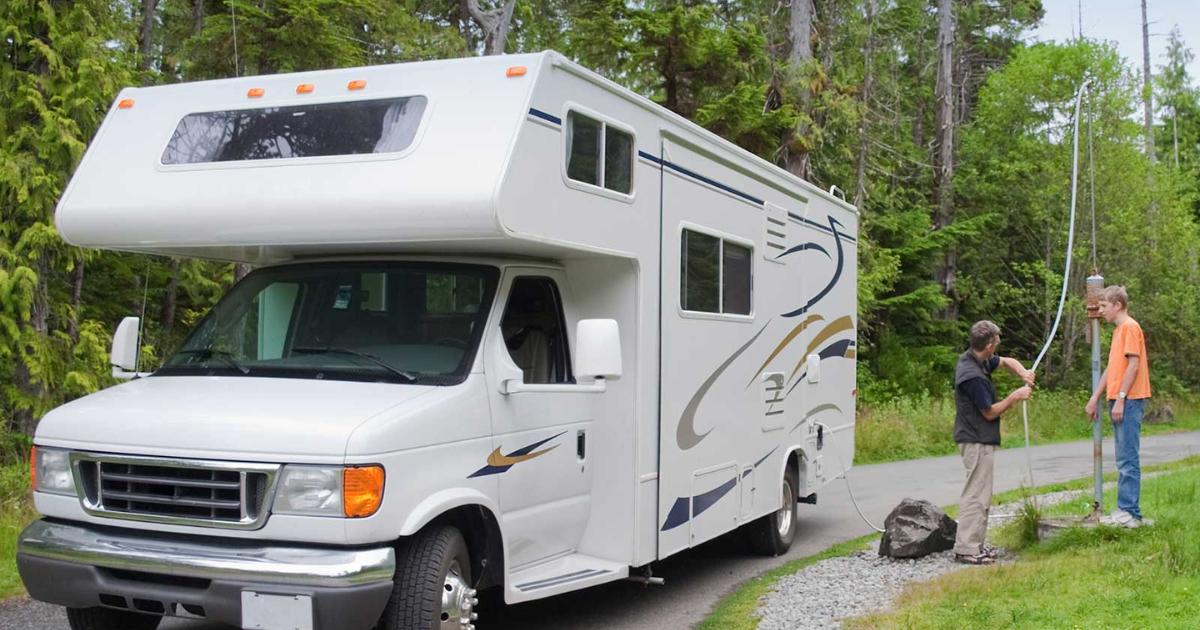
Drain the RV’s Water System
To drain the RV’s water system, start by locating the water drain valve. This valve is typically located on the exterior of the vehicle, near the bottom of the RV. Once you have located the drain valve, follow these steps to properly drain the water system:
- Prepare a suitable drainage area: Before opening the drain valve, make sure you have a designated area where the water can safely flow out of the RV. This could be a sewer drain or a bucket.
- Open the drain valve: Using a wrench or your hand, carefully open the drain valve. Be prepared for water to start flowing out of the system.
- Let the water drain completely: Allow the water to drain completely from the RV’s water system. This may take a few minutes depending on the size of the tank.
Empty the Water Lines
The next step in preparing the RV’s water system for antifreeze is to empty the water lines. This is important to prevent any residual water from freezing and causing damage to the system during the winter months. To empty the water lines, follow the steps below:
- Turn off the water supply to the RV.
- Open all the faucets, including the hot and cold taps, both inside and outside the RV.
- Flush the toilet multiple times to ensure all water is drained from the lines.
- Locate the low point drains, usually found underneath the RV. Open these drains to allow any remaining water to flow out.
- Once all the water has been drained, close all the faucets and low-point drains to prepare for the next step of adding antifreeze.
Emptying the water lines is crucial to protect your RV’s plumbing system from freezing temperatures. By following these steps, you can ensure that your RV is properly prepared for winter storage.
Bypass the Water Heater
To properly prepare your RV’s water system for antifreeze, it is essential to bypass the water heater. By doing so, you can avoid wasting antifreeze and ensure the longevity of your water heater. Here are three steps to bypass the water heater:
- Locate the bypass valve: Look for the bypass valve near the water heater. It is usually a three-way valve that can be turned to redirect the water flow.
- Turn off the water heater: Before bypassing the water heater, make sure to turn off the water heater and allow it to cool down. This will prevent any accidents or damage.
- Adjust the bypass valve: Turn the bypass valve to redirect the water flow away from the water heater. This will prevent antifreeze from entering the water heater and save you from using unnecessary antifreeze.
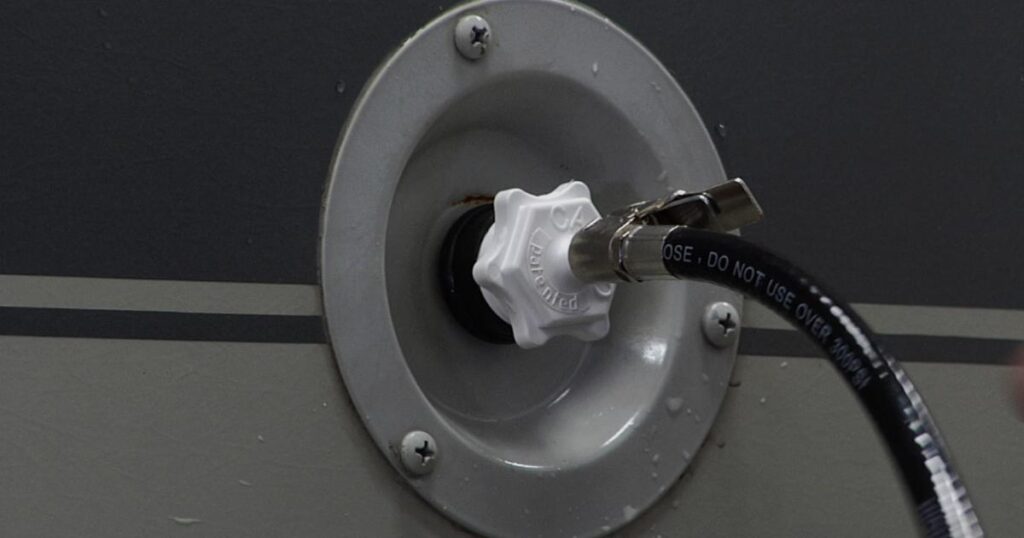
Convert the Water Pump
After bypassing the water heater, the next crucial step in safeguarding your RV’s water system against freezing temperatures is converting the water pump. This essential process ensures that the antifreeze is effectively circulated throughout the entire system, providing comprehensive protection. To carry out the conversion seamlessly, pinpoint the intake hose responsible for drawing water from the freshwater tank. Make sure to follow this comprehensive guide, especially in regions where the cold is too intense for an RV.
Disconnect this hose from the tank and insert it into a container filled with antifreeze. Turn on the water pump and let it run until the antifreeze is being pumped through the system. This will help ensure that all the water lines and fixtures are properly protected. Once the conversion is complete, you can proceed with the final step of adding antifreeze to the fresh water tank.
Add Antifreeze to the Fresh Water Tank
Converting the water pump allows for the circulation of antifreeze throughout the entire RV water system, and now it is time to address the crucial step of adding antifreeze to the freshwater tank. This step is essential to protect your RV’s plumbing system from freezing during the winter months. Here’s how you can add antifreeze to your freshwater tank:
- Prepare the antifreeze: Make sure to use non-toxic RV antifreeze specifically designed for freshwater systems.
- Locate the freshwater tank: It is usually located in the RV’s utility compartment or underneath the vehicle.
- Pour the antifreeze into the tank: Slowly pour the recommended amount of antifreeze into the fresh water tank until it reaches the appropriate level.
Check for Any Leaks or Issues
Inspect the RV’s water system for any leaks or issues that may compromise its functionality. Before adding antifreeze to the freshwater tank, it is crucial to ensure that the system is in good condition. Start by checking all the visible pipes, connections, and valves for any signs of leakage or damage. Look for any loose fittings or cracks that could potentially cause water to leak out.
Additionally, inspect the tank itself for any signs of corrosion or wear. It is important to address any leaks or issues promptly to prevent further damage and ensure the proper functioning of the water system. Regular maintenance and careful inspection are essential for maintaining the integrity of the RV’s water system and ensuring a worry-free travel experience.
Prepare the RV for Winter Storage
To properly prepare the RV for winter storage, it is important to take certain steps to protect the water system and ensure its functionality throughout the cold months. Here are three essential tasks to complete before storing your RV:
- Drain the water system: Begin by draining all the water from the fresh water tank, hot water heater, and all water lines. This will prevent any residual water from freezing and causing damage to the system.
- Add antifreeze: After draining all the water, it is crucial to add antifreeze to the system. This will protect the remaining water in the lines and tanks from freezing. Be sure to use RV-specific antifreeze that is safe for drinking water systems.
- Insulate vulnerable areas: To further protect the water system, insulate any exposed pipes or vulnerable areas. This can be done using pipe insulation or heat tape, which will help prevent freezing and potential damage.
Tips for Maintaining Your RV’s Plumbing System During Winter

After properly preparing your RV for winter storage, it is important to follow these tips to maintain your RV’s plumbing system during the colder months. Firstly, insulate any exposed pipes or hoses with foam pipe insulation. This will help prevent freezing and potential damage. Secondly, keep the RV’s interior temperature above freezing by using a space heater or RV-specific heating pads. This will ensure that water in the plumbing system does not freeze and cause pipes to burst.
Thirdly, regularly check for any leaks or drips in the plumbing system and promptly repair them. These small issues can quickly escalate in the cold weather and cause significant damage. Lastly, drain the fresh water tank and all plumbing lines before storing the RV for the winter to prevent any residual water from freezing and causing damage. By following these tips, you can ensure a functioning plumbing system in your RV during the winter months.
Frequently Asked Questions
How Often Should I Put Antifreeze in My RV’s Fresh Water Tank?
It is important to regularly maintain the fresh water tank in your RV to prevent freezing during colder months. Consult the manufacturer’s recommendations or a professional to determine the frequency of adding antifreeze to your RV’s fresh water tank.
Can I Use Regular Automotive Antifreeze in My RV’s Fresh Water Tank?
It is not recommended to use regular automotive antifreeze in an RV’s fresh water tank. RV-specific antifreeze is designed to be non-toxic and safe for use in the water system, whereas automotive antifreeze may be harmful if ingested.
Is It Necessary to Bypass the Water Heater When Adding Antifreeze to the Fresh Water Tank?
When adding antifreeze to an RV’s fresh water tank, it is important to consider whether bypassing the water heater is necessary. This ensures proper protection and prevents damage to the system.
How Long Does It Take for the Antifreeze to Circulate Throughout the RV’s Water System?
The time it takes for antifreeze to circulate throughout an RV’s water system can vary depending on factors such as the size of the system and the efficiency of the pump. It is recommended to consult the manufacturer’s instructions for specific guidance.
Can I Use a Different Method to Winterize My RV’s Plumbing System Instead of Adding Antifreeze to the Fresh Water Tank?
While there are alternative methods to winterize an RV’s plumbing system, such as using compressed air or RV antifreeze bypass systems, it is important to consult the manufacturer’s recommendations to ensure the proper method is used.
Conclusion
In conclusion, by following the steps outlined in this article, you can ensure that your RV’s fresh water tank is properly prepared for winter storage. By draining and bypassing the water system, converting the water pump, and adding antifreeze, you can prevent any damage caused by freezing temperatures. Regular maintenance and checks for leaks will help keep your RV’s plumbing system in good condition. Remember to follow these tips to maintain your RV’s plumbing system during the winter.


